|
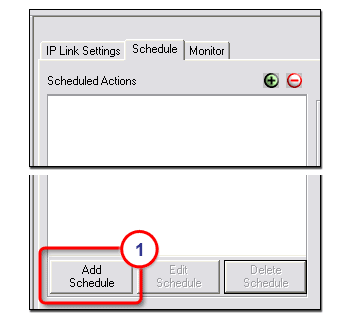
The Schedule tab is used to set scheduled actions and e-mail deliveries. A single schedule can include both actions and e-mail assignments. Actions vary by selected device and include options such as Power On, Power Off, Volume Up, Volume Down, Mute On, and Mute Off. Custom e-mails can be created and sent to specified e-mail addresses following scheduled events. Use the |
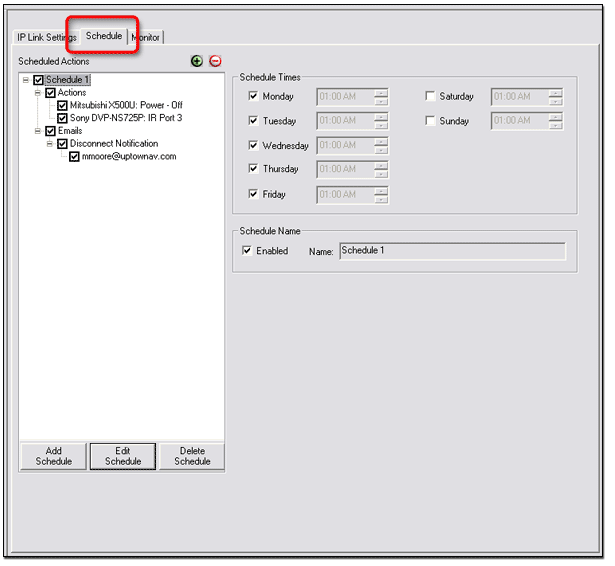
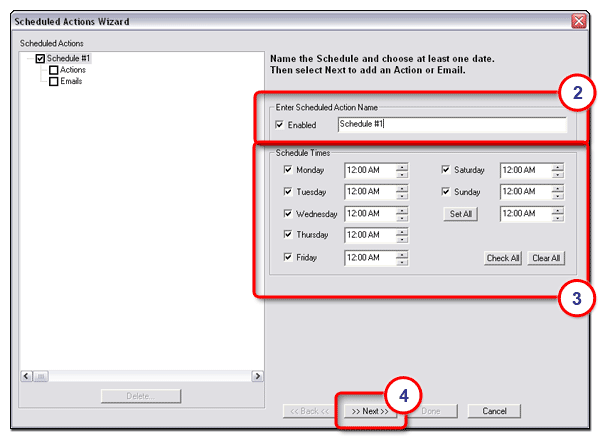
Scheduling an ActionTo schedule an action:
|
|
|
|
|
|
|
|
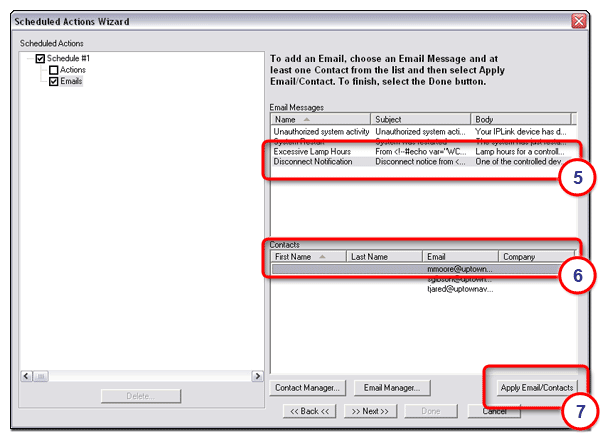
Scheduling an E-mail DeliveryTo schedule an e-mail delivery:
|
|
|
|
|
The Contact Manager button opens a dialog box that allows you to add new e-mail contacts. The Email Manager button opens a dialog box that allows you to create new custom e-mails that can be scheduled for delivery. |
|
|
![]()
 and
and  buttons to expand or collapse the view of
the selected schedule, action, or e-mail tree.
buttons to expand or collapse the view of
the selected schedule, action, or e-mail tree.