|
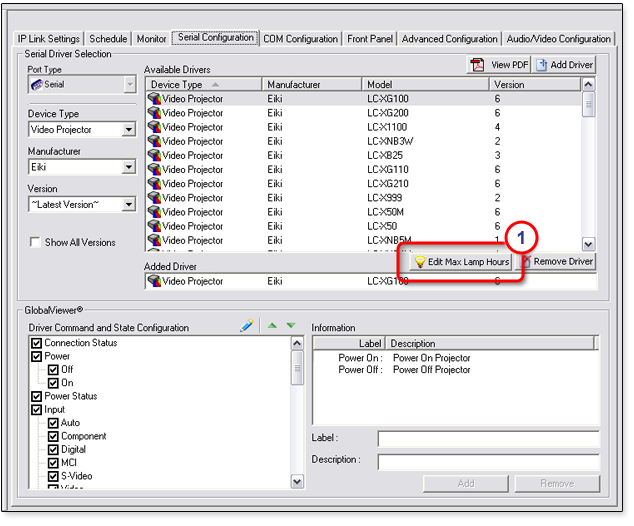
There are three sections on the Serial Configuration tab:
|
![]()
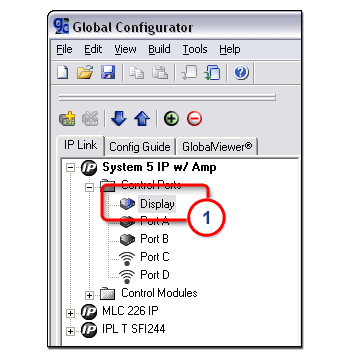
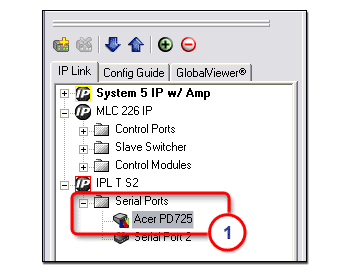
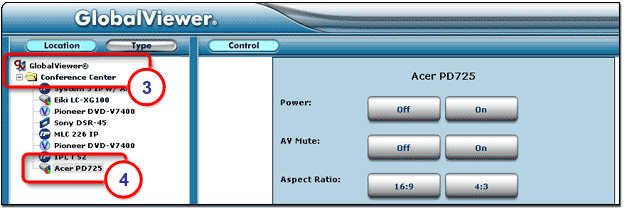
Choosing a Device DriverTo choose a device driver:
|
|
GlobalViewer
|
|
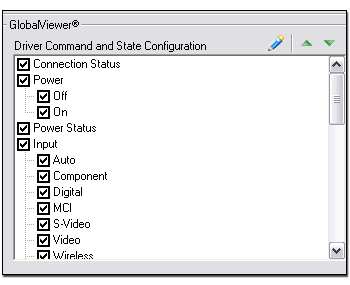
In the Driver Command and State Configuration section you can:
|
|
|
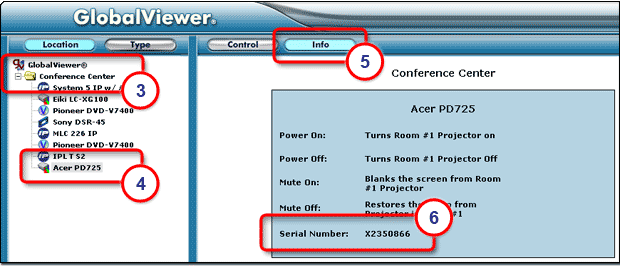
Note: Before changes are viewable in GlobalViewer, you must perform the build and upload process in Global Configurator. To view the buttons in the GlobalViewer web page:
|
|
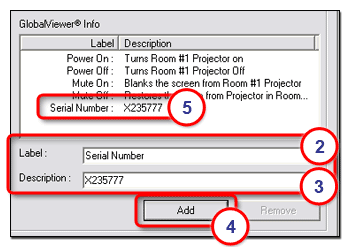
GlobalViewer Info sectionIn the lower right corner of the Driver Configuration tab is the GlobalViewer Info section. Here, you can enter relevant information about the selected device that appears on the Info tab in GlobalViewer. To add information:
|
|
|
Note: Before changes are viewable in GlobalViewer, you must perform the build and upload process in Global Configurator. To view the added information in the GlobalViewer web page:
|
|
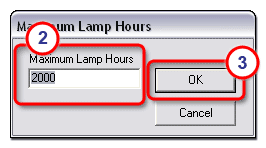
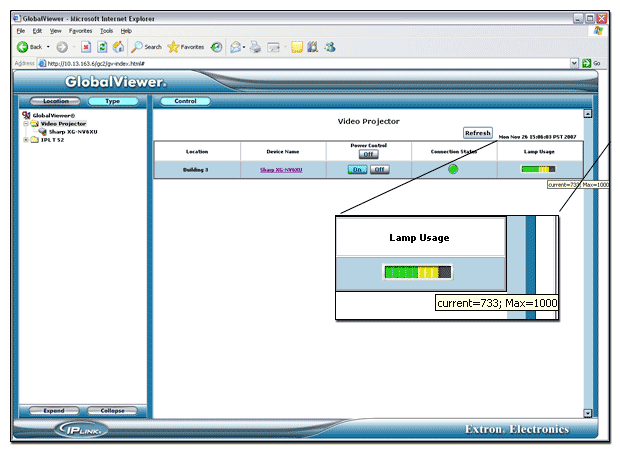
Edit Max Lamp HoursOn the GlobalViewer Video Projector Type summary page is a Lamp Usage bar graph indicator. When a device driver is installed for a video projector, it provides the maximum value to be used by the bar graph (Max=1000 in the example below). The Edit Max Lamp Hours button opens a dialog box that allows you to adjust the maximum value in the bar graph. |
|
To change the maximum value for lamp usage:
|
|
|
![]()